 科技微讯
科技微讯Crawlee 入门指南
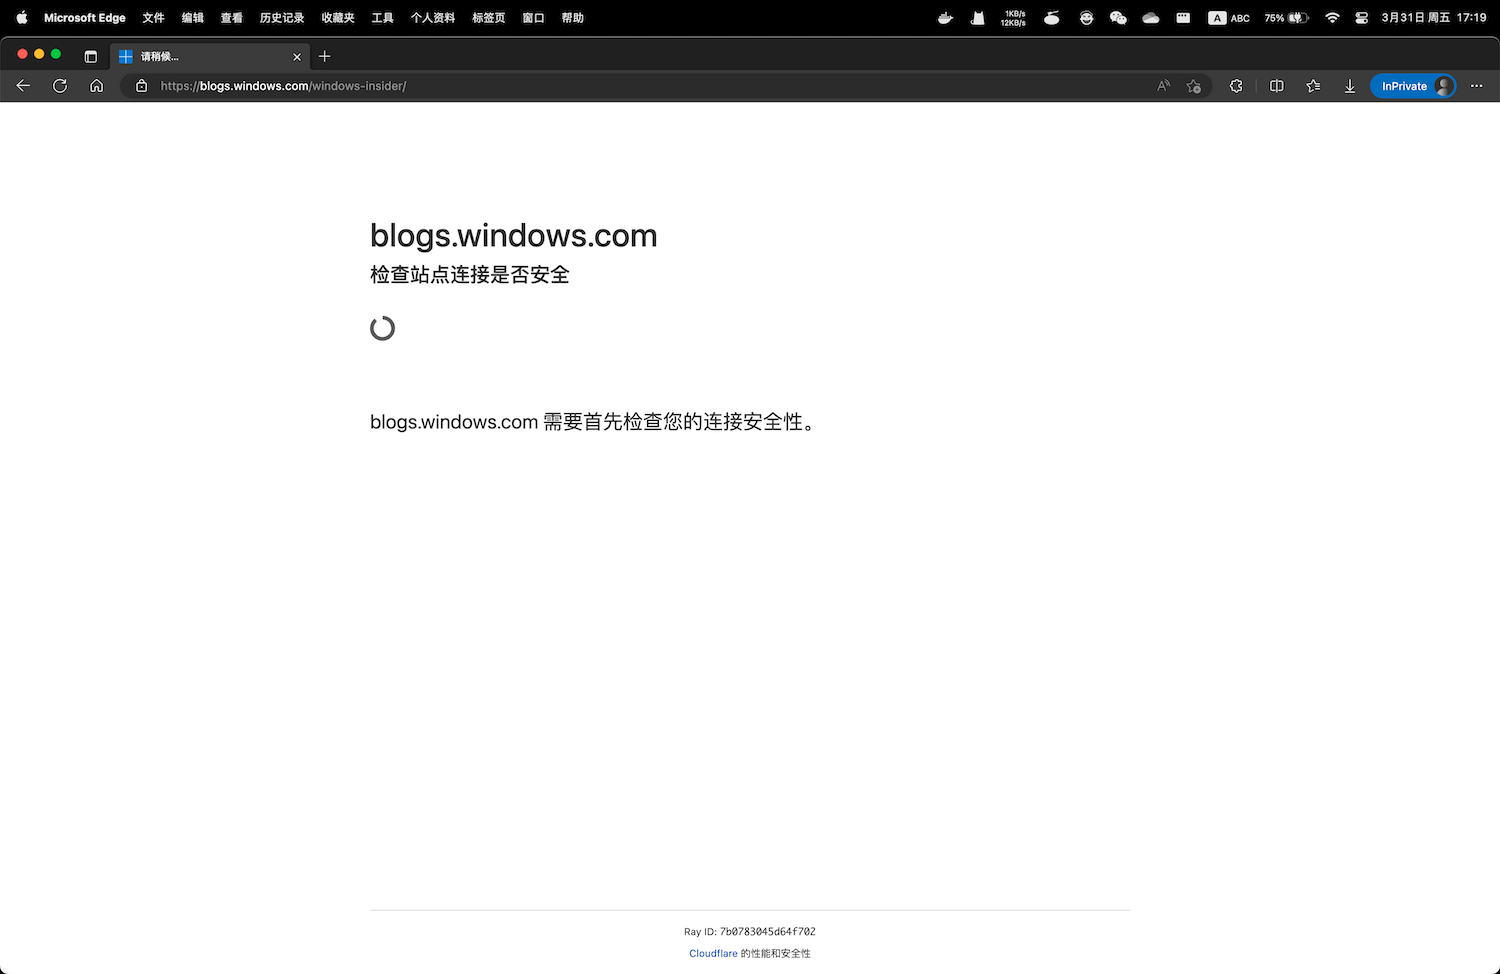
我写的微信小程序通知中心支持 Windows 系统更新订阅,检测的数据源是微软 Windows Insider 的官方博客。最近它加了一道 Cloudflare 浏览器验证,导致我的程序无法再正常获取网页内容。(BTW,文章写完后,发现网站撤消了 Cloudflare 审核,又可以无障碍访问了)
为了解决这个问题,我用 Crawlee 重写了这部分代码,这篇笔记记录若干 Crawlee 使用事项。
Where、What
Crawlee 主要有三个 crawler: CheerioCrawler、PuppeteerCrawler、PlaywrightCrawler。创建一个 crawler 很简单,对于大部份网页,只需告诉它两个信息点:
- Where:打开哪个网页?可能还要告诉它如何打开,例如是 POST 还是 GET;
- What:打开网页后,要做什么?
The general idea of each crawler is to go to a web page, open it, do some stuff there, save some results, continue to the next page, and repeat this process until the crawler's done its job. So the crawler always needs to find answers to two questions: Where should I go? and What should I do there? Answering those two questions is the only required setup. The crawlers have reasonable defaults for everything else. 出处
以 CheerioCrawler 为例,创建一个 crawler:
import { RequestQueue, CheerioCrawler } from "Crawlee";

//这是 where:requestQueue 是一 queue 的 request,即一队网页
const requestQueue = await RequestQueue.open();
await requestQueue.addRequest({ url: "https://Crawlee.dev" });

//这是 what:顾名思义,requestHandler 是 request 的 handler,用来处理 request
const requestHandler = async ({ $, request }) => {
  const title = $("title").text();
  console.log(`"${request.url}" 的网页标题是:${title}`);
};

const crawler = new CheerioCrawler({
  //告诉它 where
  requestQueue,
  //告诉它 what
  requestHandler,
});

//开始 crawl
await crawler.run();
Where
RequestQueue 是告诉它 Where 的其中一种方法,它常用于事先已经知道 Where 是什么的情况。还有两种提供 Where 的方法:
crawler.addRequests():常用于在某个页面发现新的链接后,把这些链接添加到队列的情况,用在requestHandler中,这些链接是运行 crawler 之前不知道的,文档有一篇文章详细介绍了这种情况:Adding more URLs;enqueueLinks():使用情况类似addRequests,也是用在requestHandler中,但它是 context-aware 的,详情可看 Adding more URLscrawler.run():类似RequestQueue.addRequest();
Where(即 request)可以是一个 url 字符串,也可以附带完整的请求信息,例如一个包含 body 的 POST 请求如下,注意它用 payload 表示 body:
const crawler = new CheerioCrawler({
  async requestHandler({ body }) {
    console.log(body.toString());
  },
});
//一个 where 可以包含完整的请求信息
const where = [
  {
    url: "https://jsonplaceholder.typicode.com/posts",
    method: "POST",
    payload: JSON.stringify({ name: "tom" }),
    headers: {
      "Content-Type": "application/json",
    },
  },
];
await crawler.run(where);
值得一提的是,Where(即 request)除了支持 url、method、payload 等参数之外,还支持 uniqueKey 等参数,其中 uniqueKey 的作用是避免 crawler 重复访问同一个页面。请看下面这个例子,向 crawler 提供了 100 个相同的 url,它只会访问一次,而不是 100 次。
const crawler = new CheerioCrawler({
  async requestHandler({ body }) {
    console.log(body.toString());
  },
});

const url = "https://jsonplaceholder.typicode.com/posts/1";
const requestQueue = Array.from({ length: 100 }).fill(url);
await crawler.run(requestQueue);
What
前面用 CheerioCrawler 介绍 Where,这里用 PlaywrightCrawler 介绍 What。Crawlee 官方表示,大多数情况下 Playwright 都好过 Puppeteer,它们的一个显著区别是:
The big difference between them is that Playwright will automatically wait for elements to appear, whereas in Puppeteer, you have to explicitly wait for them. 出处
What 有一个固定称呼:requestHandler。正如前面所说,这是一个函数,是 request 的 handler,requestHandler 被调用时,会被 Crawlee 传入一个参数,这个参数在 Crawlee 文档中被称为 context,不同的 crawler 它向 requestHandler 传入的 context 不一样:
- CheerioCrawler:CheerioCrawlingContext
- PlaywrightCrawler:PlaywrightCrawlingContext
- PuppeteerCrawler:PuppeteerCrawlingContext
前面提到的 enqueueLinks 就是 context 的一个属性,对于 PlaywrightCrawler,page 是用得较多的一个属性。它的用法类似 playwright 通过 browser.newPage() 获得的 page 对象,通过它可以从网页提取各种信息。
下面这个例子用 PlaywrightCrawler 打开百度首页,并获取网页的 title:
const crawler = new PlaywrightCrawler({
  async requestHandler({ page }) {
    const title = await page.title();
    console.log(title);
  },
});

const url = "https://www.baidu.com/";
await crawler.run([url]);
除了 Where、What 之外
crawler 的配置信息
创建一个 crawler 除了提供 Where、What 之外,还可以提供额外的配置信息,例如:
- 当所有页面都处理完成后,是否自动停止 crawler 并关闭浏览器:keepAlive;
- 要不要打开浏览器窗口,还是使用无头浏览器:
headless; - 设定
requestHandler最多能执行多久,如果没执行完成就超时终止:requestHandlerTimeoutSecs; - 设置 crawler 访问一个链接时如果出错,重试多少次:
maxRequestRetries; - 设定返回哪些状态码时,就理解自己被网站屏蔽了,然后停止访问:
SessionPoolOptions.blockedStatusCodes - 创建的 crawler 每次运行时,最多访问多少个页面:maxRequestsPerCrawl;
更多配置参数可看文档,以下是一个例子:
const crawler = new PlaywrightCrawler({
  keepAlive: true,
  headless: false,
  requestHandlerTimeoutSecs: 10,
  maxRequestRetries: 1,
  maxRequestsPerCrawl: 3,
  sessionPoolOptions: {
    blockedStatusCodes: [],
  },
  async requestHandler({ page }) {
    await page.waitForLoadState("networkidle");
    // 执行 waitForTimeout(10000) 会导致超时出错,因为 requestHandlerTimeoutSecs 被设置为 10s
    // 超时出错后会重试,但重试次数是 1,因为 maxRequestRetries 被设置为 1
    // await page.waitForTimeout(10000)
    const content = await page.content();
    console.log(content);
  },
  // 不要在 requestHandler 中 catch 错误,error handler 写在 failedRequestHandler
  // 文档:https://crawlee.dev/api/basic-crawler/interface/BasicCrawlerOptions#requestHandler
  failedRequestHandler: async (_, error) => {
    console.error("requestHandler 出错:", error);
  },
});

const url = "https://kejiweixun.com";
const requestQueue = Array.from({ length: 10 }).map(
  (i, idx) => `${url}?index=${idx}`
);
// 虽然传入了 10 个不同的链接,但 crawler 只会访问其中三个,因为 maxRequestsPerCrawl 被设置为 3
// 默认情况下,crawler 执行完毕会自动关闭浏览器并停止,但由于 keepAlive 设置为 true,所以这里不会停止也不会关闭浏览器
await crawler.run(requestQueue);
// 所有链接都处理完成后,可以手动关闭 crawler
await crawler.teardown();
Crawlee 的 Configuration
以上参数信息是针对某个 crawler 的,Crawlee 还有一个全局性的配置对象:Configuration。创建 crawler 时不需要传入 Configuration,因为它是全局性的,会被默认使用。
但 Crawlee 允许你修改全局 Configuration,修改方法是:
- 用
Configuration.getGlobalConfig()获取全局配置; - 用
set方法设置某个属性,支持的属性可看 ConfigurationOptions;
例子:
const { Configuration, log, LoggerJson } = require("Crawlee");

//获取全局配置信息
const config = Configuration.getGlobalConfig();
//把全局配置信息的 disableBrowserSandbox 设置为 true
config.set("disableBrowserSandbox", true);
//这里也可以设置 headless
config.set("headless", false);
Configuration 还可以通过 Crawlee.json 文件配置,也可以在创建 crawler 时作为第二个参数传入 crawler 创建函数,详情可看文档。
调整日志输出
crawler 运行过程中会打印很多日志,根据文档我们可以使用 config.set("logLevel", "OFF") 关闭日志打印,但这段代码不生效,可能是 bug,但在 Crawlee.json 中设置是有效的,以下是关闭日志输出:
{
  "logLevel": "OFF"
}
如果只显示 error 日志,可以改为:
{
  "logLevel": "ERROR"
}
另一种调整日志打印的做法是:
const { log, LoggerJson } = require("crawlee");
log.setOptions({
  level: log.LEVELS.ERROR,
  logger: new LoggerJson(),
});
这样设置后,Crawlee 只会打印 error 日志,同时输出为 json 字符串。
解除封印
Crawlee 用起来有点复杂,如果只是用来访问毫无障碍的网页,显然是多此一举。Crawlee 的特别之处是它能打开很多被封印的网页,例如文章开头提到的添加了 Cloudflare 防护的微软博客。
根据 Crawlee 的说法,阻止 crawler 访问一个网页(反爬)的手段很多,但主要有两种:屏蔽 IP 地址、浏览器指纹识别。Crawlee 内置了这两种方法的破解方法。
经测试发现,要解除微软 Insider 博客的封印,只需要使用 Crawlee 的 PlaywrightCrawler,并以 headful 的方式打开网页即可。
我希望在云函数运行 Crawlee,但在云函数直接使用 Puppeteer 或 Playwright 比较麻烦,可能要安装诸多依赖,做诸多配置等等,幸运的是 Crawlee 提供了充分配置好了的 Docker 镜像。把 Crawlee 提供的镜像作为 base image,加上自已的代码,制作出新的镜像,然后把新镜像部署到云函数,不需要进行复杂的调整就能访问被封印的网页。
Crawlee 提供了多个 Dockerfile 例子,值得注意的是,如果要以 headful 方式访问网页,需要开启 xvfb(X virtual framebuffer),开启方法是执行镜像中的 start_xvfb_and_run_cmd.sh 文件,具体请看 Browser + TypeScript 这个 Dockerfile 例子。
CMD ./start_xvfb_and_run_cmd.sh
为什么 xvfb 可以让 Playwright 以 headful 的方式打开浏览器呢?根据 ChatGPT,xvfb 是:
Xvfb stands for "X virtual framebuffer". It's like a pretend computer screen that exists only in the computer's memory, instead of being a physical screen that you can see and touch. This pretend screen is useful for running programs that need to display graphics, but don't have a physical screen to display them on. For example, if you're running a program on a server that doesn't have a monitor attached, Xvfb can create a virtual screen for the program to display its graphics on.
另一个需要注意的问题是,Crawlee 提供的镜像有很多个,官方建议选择一个标有 Node.js、Playwright(或 Puppeteer)版本号的镜像,因为某个版本的 Node.js 和 Playwright(或 Puppeteer)需要搭配某个版本的浏览器使用,镜像内置的浏览器是经过测试可以使用的版本。
例如可选用 apify/actor-node-playwright-chrome:16-1.31.2 这个镜像,该镜像内置的 Node.js 版本号是 16,Playwright 版本号是 1.31.2,这也意味着镜像内置的浏览器可以保证兼容 Node.js 16 和 Playwright 1.31.2。
为了保险起见,你的 package.json 应该指定 playwright 的版本号也是 1.31.2(如下),如果安装了其他版本的 playwright,可能会提示找不到浏览器。
{
  "dependencies": {
    "playwright": "1.31.2"
  }
}
在 Apple Silicon 电脑上创建的 amd64 镜像,在本地运行时可能会报错,因为镜像可能包含一些在 ARM 架构下无法运行的 amd64 代码。我收到的报错如下所示:
Failed to connect to the bus: Failed to connect to socket
Failed to parse the contents
在 stack overflow 找到一种解决方法,使用 colima 创建一个 VM with Rosetta 2 emulation,然后让容器运行在这个 VM 中。
2023-04-02 补充:另一个方法是使用 OrbStack。无需进行任何额外的设置,1、安装 OrbStack 客户端,2、执行 docker run 命令,3、容器就能正常地在本地测试。OrbStack 默认使用 Rosetta 转译 x86/amd64 代码,而 Docker Desktop 默认使用 QEMU。
2023-04-03 补充:原来 2023 年 1 月发布的 Docker Desktop v4.16 增加了 Rosetta 转译功能,但该功能还在开发中,默认关闭,需要手动开启,开启后容器就能成功地在 Apple Silicon 电脑运行。详情前看 Docker 对 Apple Silicon 的支持这篇笔记。
docker build 时,要告诉 docker 你的目标 platform 是什么,即告诉它你的镜像将在什么 platform 下使用。目前大多数服务器、云函数都是 x86/amd64 平台,但很多苹果电脑已经是 ARM 架构,对于这种情况,部署时要创建 amd64 镜像,本地调试时则创建 ARM 镜像。因为 Crawlee 官方镜像都是 amd64 镜像,所以如果不声明 platform,docker 会自动创建 amd64 镜像,因为这是它的唯一选择。
docker build --platform=linux/amd64 -t image_name:image_tag .
最后就是把镜像 push 到某个云容器服务中,然后基于这个镜像部署云函数,后续更新云函数,只需更新该云函数绑定的那个镜像。关于函数的配置,请看开发者的表述:
From our experience, RAM is not the limiting factor. It's the CPU. You need at least 1 CPU core for the modern browsers to work reliably at scale so if you're using a container that has 1GB ram and 0.25 core, it's just not worth it. If you have access to containers that have strong CPUs and not a lot of RAM, then it's a different story. 出处
总结
这篇文章是对 Crawlee 的入门介绍,是对解封微软 Insider 博客所做的努力的总结,有很多内容我还没有触及。Crawlee 是一个强大的 library,证据:
Crawlee is built by people who scrape for a living and use it every day to scrape millions of pages. 出处
We're running hundreds of thousands of runs and thousands of builds on those docker images every day. 出处
相关文章:
- Docker 对 Apple Silicon 的支持:搞清楚 Apple Silicon 电脑如何正确地使用 Docker Desktop;
- Puppeteer & Playwright course:Crawlee 开发者的教程,免费;
- Ask HN: What are the best tools for web scraping in 2022:被 hacker news 网友推荐的 scraper;
- Puppeteer Heap Snapshot:一个从 Heap Snapshots 提取内容的 scraper,思路特别,但很慢;
- 在云函数使用 puppeteer 爬取网页内容,如何更快一点?
- 请在微信客户端打开链接:用 headless 浏览器可解